Tuesday, August 31, 2010

1st of September - Its Spring!

You would think it would be easy picking a spot for a fruit tree when you have a blank canvas for a section.
Well its not. But finally, after much neglect i did it, just in the knick of time before spring!
It's not just any old fruit tree either i'll have you know. It's the beginnings of The Best EVER Braeburn Apple Espalier.


What is an Espalier you ask?
Not your average apple tree - i can tell you that much for free.
It is actually a horticultural technique to train trees through pruning and creating two dimensional patterns. Patterns have their own names like: diamond, palmate, pinnate, cordon, fan, basket weave, tiered, candelabra… I am going for the standard version, nothing fancy.


The Art of Espalier has been practised since the Middle Ages to grow trees inside castles and up on walls to save space. I love the idea. Easy to pick the fruit, space efficient and decorative all in one. I also heard that the controlled pruning actually helps the fruit mature faster. So all round.. why wouldnt you do it? A matter of having time i guess.

Gran & Grandad had a couple acting as a partition on their property... and apart from feeling the need to make my grandparents proud.. i can just see the accessability working a treat when its pumping out edible fruit left, right and centre.

And just a bit of inspiration for its future:


Saturday, August 14, 2010

Plumbing

Alot has been done since i felt like i had conquered the whole wide world. Gaz has done his fair share of work in the kitchen to compensate for my sole jibbing. In fact... i cant quite get rid of him yet, he spent most of the week fixing everything i had done wrong! Just when i actually thought i was the man, i'm not. Sorry to dissapoint.

Apparently you need to glue the sheets of jib before you screw them in. haha Gosh im a struggle pants. Anyway - he fixed it... as well as finding the wiring i put behind the jib. Turns out its alot harder to find the wire behind the jib if you mark its location incorrectly. My bad. So hes quite handy.. and quite patient.

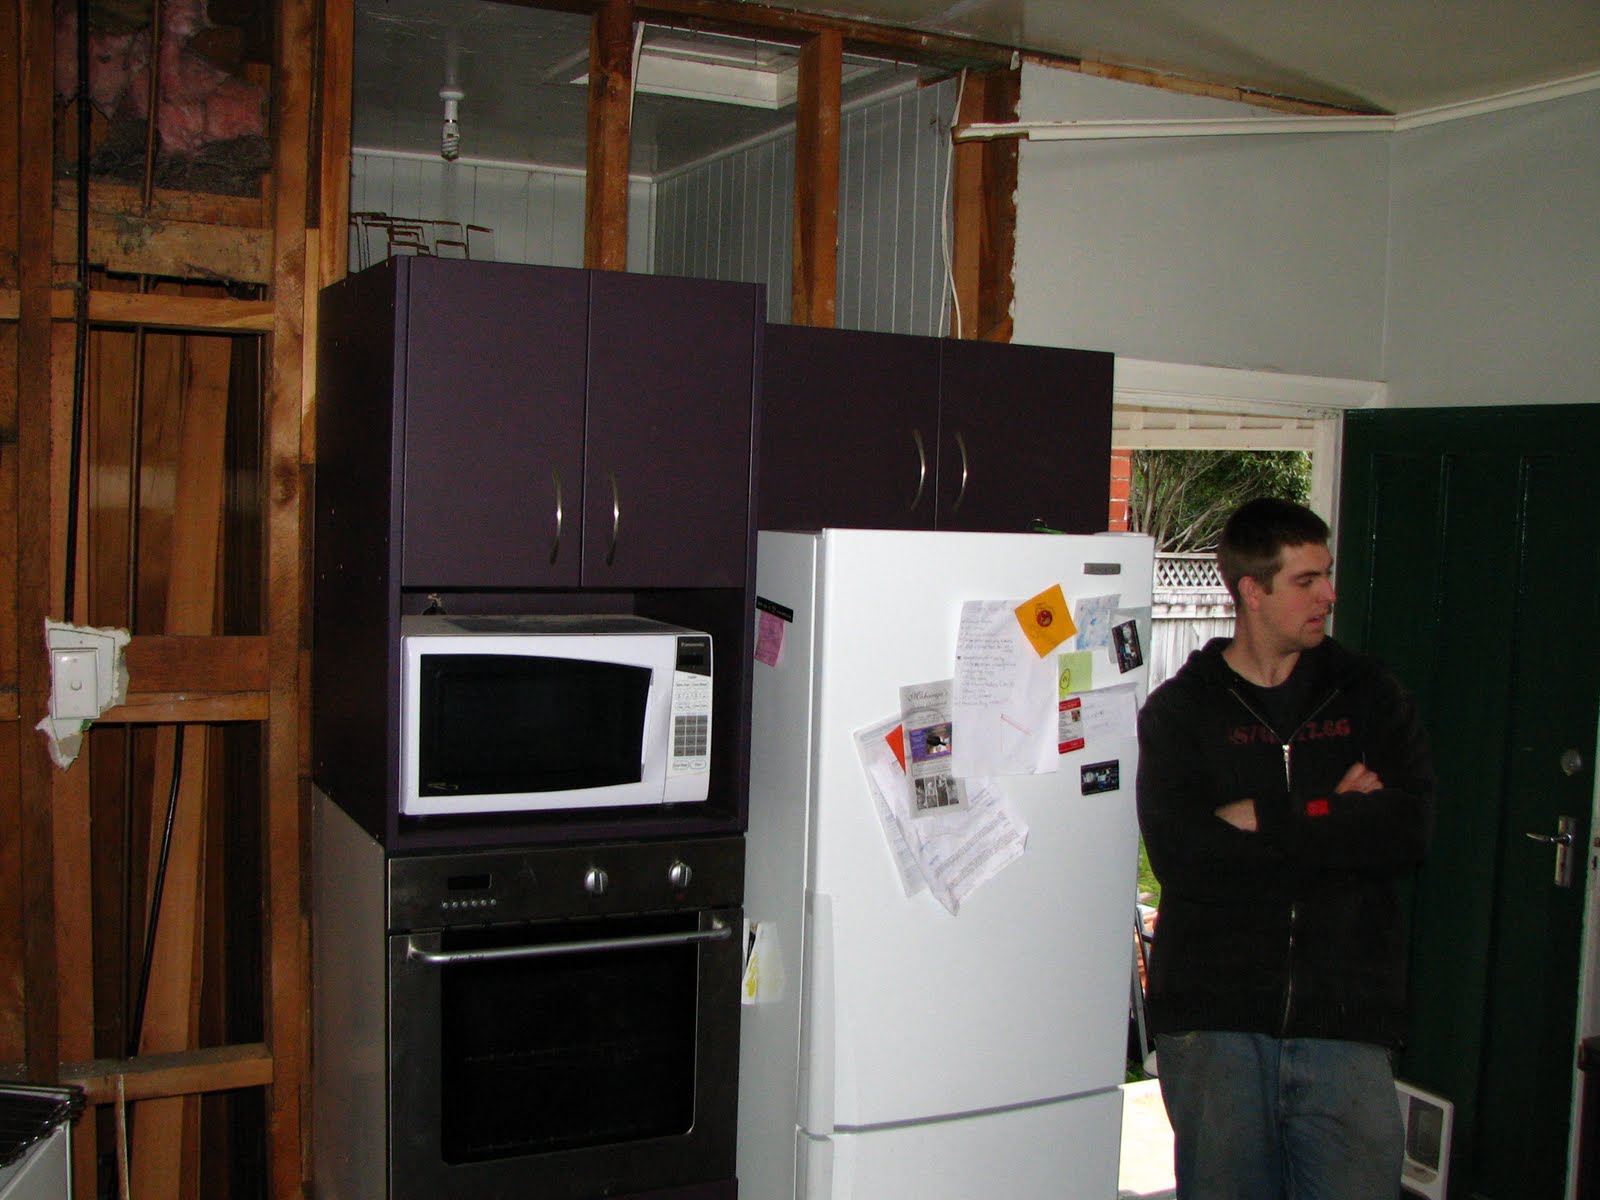
So after the jib sheets came off, got glued, and screwed back on... we then installed the wall cabinets.

You might also note Gaz busy in the sink. He learnt, tryed, tested and succeeded at plumbing our entire kitchen system - dishwasher, wastedisposal, water and drainage. I was actually quite suprised when we tested it all out and there was not one drop of water out of place. So again quite a clever plumber for a husband.


You must note: First picture above - old tap. And thisss....... is my new gorgeous tapware. Courteous of a workmates wife. I LOVE IT!


Oh oh oh.. and check out my dishwasher!!!! Its alot more exciting for someone who hasnt had a dishwasher for 4 years than im sure you can imagine.


And its starting to look like a real life kitchen! But lets not get too excited.. There is still shitloads to do.

Saturday, August 7, 2010

I would just like to say that I am THE man.

Gaz is away for the weekend. Some boy weekend. So my ultra competitive side came out. The one where i am a female and i can do things without your help side.


I thought i would suprise him by going all out. Not only did i paint the spare room.. but I lined the walls with jib alllll byyyy myyyy selllffff. Might i add, those sheets a freaking heavy as ^&*%! And tricky to handle. But you couldnt stop me tonight - i was on a mission.


So here it is. Damnit, the photo doesnt show how hard this was! You will just have to believe me.

Weeeeeeeee... we have insulated, lined kitchen walls! :)

Friday, August 6, 2010

Ahhhh.. Thats better

I can now gladly announce that no sponge effect resides at our house. Pheeewf!

Todays mish was to finish painting the spare room (blue sponge).


Luckly for your eyes, and with thanks to sarah and her paint brush, the blue sponge shown above had been toned down slightly with a coat of paint before i got the camera out... Shit you not. I dont usually bother with undercoat.. but i was quite insistant this time that we needed one maybe even two undercoats just to make sure we got good coverage.. i wonder why?


So as you can see this is the colour. Again another one of my random mixes.. A bit of villa white with some amber and what do ya know.. you get a softer version.. lets call it 'soft amber'.


Looks alright. Looks actually not too bad with the white ceiling and window. Actually i think i'm a fan, i think. Only thing is i might need to design some sort of filter for the window.. just to cut out any light that exposes any reference to apricot.. haha. or just pretend its not apricoty and call it free paint. :) And. Lets not forget what is underneath.. makes its quite alot better.


Well enough rambling.. i thought nikki was bad. Turns out its quite easy to talk crap on here.

Here is is:


Monday, August 2, 2010

Be gone thy sponge effect

Ew is all i can say about sponge effect. Must have been trendy about 10 years ago because the previous owners of our house went all out.

When we first came to look at the house i made a smart remark about these horid sponge painted walls... the owner clearly misheard and replied "yes, that was my daughters creative touch" and proceeded to go into detail about how you replicate such a texture - just incase we needed to touch them up at any point.

4 months was enough for me. Well actually it started a little differently to be honest. I got told off for starting exterior jobs in the middle of winter along side trying to rip the kitchen out well before we needed too... a month in fact. And so, to satisfy my need for destruction Gaz let me get the paint brush out - so long as it was INTERIOR painting.


So the yellow sponge walls got dealt to:


Pour a bucket of tea colour into a bucket of spanish white and turns out you get a nice light tea colour. Quite like..


Flush mounting the lightswitches was also a priority. So out came the 1950's 40mm spacers. Yus.
Also, out came the multi-box plugged into multibox with extension lead running around all four walls to the other side of the room to multibox. Safe as ever. And in went powerpoints!!!!!

Still to concquer in our room will be the light situation. Currently the only main light resides over in the far corner of the ceiling. Quite a good position if you like half the room in the dark.. Me? I would prefer the centre thanks.

Saturday, July 31, 2010

Out with the old and in with the new


See for yourself... Salmon coloured cupboards, complete lack of bench space and puke flecked lino. This was my old kitchen.
After pricing up kitchens at bunnings and choking on the prices which would be quite acceptable for some.. we resorted to months of trademe-ing to find the bargain of the century that would suit the tiny weeny budget, be close by and most importantly fit our space. Quite the mission! But we got there in the end.
This weekend we finally got to pick our new 2nd hand kitchen up! We bought it 2 months ago.. so the wait has been torturous and my patience for salmon and lack on bench space wearing thin. Each night after work we would set to work disassembling our old kitchen ready for the new kitchen.

It all started with a bit of demo jute. A crow bar and hammer soon dealt to the old kitchen units.
Nothing like a bit of drunken demolition either!! Gaz and I got home at 12pm after a night of parting last Saturday night, and spontaneously decided to rip up the lino exposing the wooden flooring. Proved quite productive! Not sure the neighbours would have been impressed with our music cranking and drunkenly making a hell of a racket both inside and out, but got the job done and worked off a bit of alcohol too! Bonus.

With all the old kitchen units now removed and the wooden floors exposed we were ready to pick up our new kitchen! Finally. And soooo glad the weather turned out fine! Outside space was key!!!
We managed to get all of the units inside just before the sun went down and here they are all sitting (nearly) in their places.

And then... nothing like a last minute decision! We decided to insulate the room before fixing the units in place. So off with the walls!
Andd... i am exhausted!!!!! But our kitchen is nice and toasty now! :) Still loads of work to do though so more takeaways for Gaz and Jute.

Thursday, July 29, 2010

Grandads Shed

Ohhh my gosh! I found the old photos i took of grandads shed. Cant believe it. They are more awesome than i remember.. and they make the other pic i found look amature. See.... Gaz and I being the hoardery type we kept those orange storage thingees in the pic above.. little momento of how Gus was ultra cool and i'm now inspired to drag them out of a box and put them in MY shed with MY shadow board. :) Which wont look to dissimilar to this i hope:


I really am quite average at layout in this whole blog thing. Ah well images on the left it is then, and the one i wanted at the top, just at the bottom will do thanks blog.
So there you go.. now you know what i was rambling about yesterday.